SUMMER 2011 – Growing mushrooms in my yard in Denver
Marc Donsky
Growing mushrooms in Colorado presents two major difficulties: very low humidity and large temperature changes between day and night. We need to time our growing with the weather. Misting and watering combined with humidity holding blankets can be used. Let’s take a look at what we did this summer, how it worked and what we might do better, more, and or differently. The topics are GROWING MUSHROOMS IN THE LAWN, WOOD AND LOG STUMP INOCULATION, and AGARICUS GARDENING.
GROWING MUSHROOMS IN THE LAWN
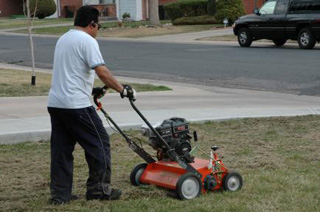
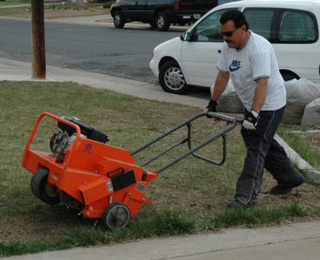
Power rake and aerate. Fertilize with manure and micro-organics.
Agaricus and Marasmius (among others) follow.
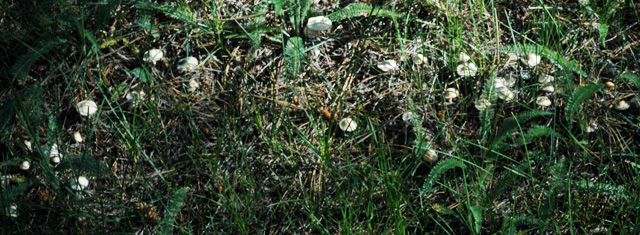
It would be a good idea to inoculate our yard with Chlorophyllum rhacodes (aka Lepiota rhacodes), Coprinus, and more Agaricus of our choice.
WOOD AND LOG STUMP INOCULATION
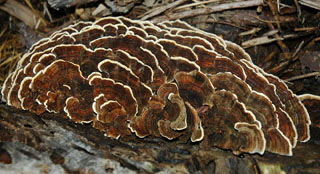
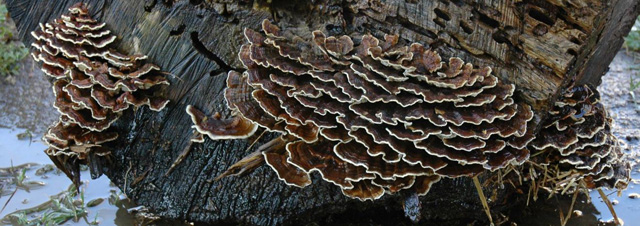
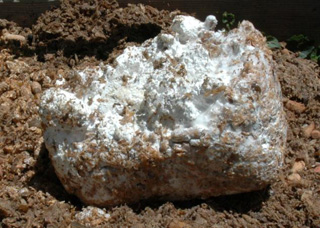
One of the easiest ways to introduce mushrooms into your garden is to simply stuff spawn into cracks in a log. This can work well for a number of species and is an especially good technique for oysters and turkey tail. This is an excellent method for utilizing and removing (slowly) stumps. Beside Pleurotus and Tramates, Ganoderma and Hericium (among others) are good candidates for this method of garden mushroom culture. The photo shows a summer’s growth of Turkey Tail from spawn stuffed into an old log. The dimensions are about 1 ft long 6” deep.
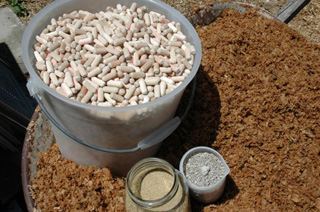
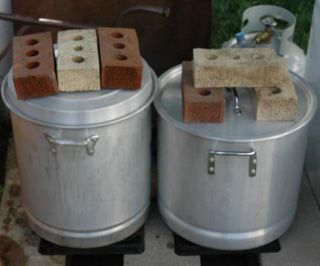
The following images document the production of wood chip (dowels in this case), sawdust, bran medium and the steps we used to plant oyster mushrooms in the garden.
Ingredients: Oak furniture dowels (4gals), hardwood sawdust (wheelbarrel), gypsum (1 cup), bran (2 cups).
Pasteurization: Boil ~1 hr.
AGARICUS GARDENING
Although it is very easy to encourage Agaricus in our lawns growing an Agaricus garden requires much more time and effort.
The photos show how to build a mushroom compost media such as that used in commercial Agaricus farms.
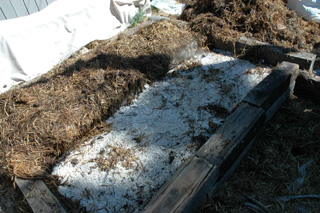
1. Wetting the straw. Water should squeeze from the straw, but too wet leads to greasy anaerobic compost. You should not need to add any more water after the pile is stacked.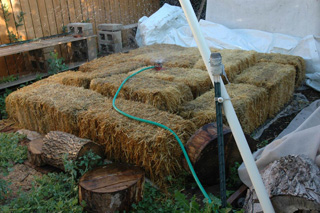
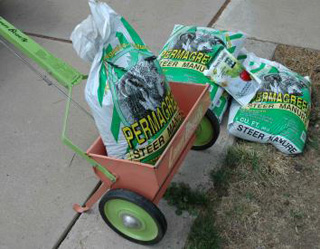
2. Layering the compost: Our pile was made from 15 bales of straw, a pickup load of horse manure, and 25 pounds of gypsum. A Not counting the gypsum sprinkle, this was a 17 layer pile. 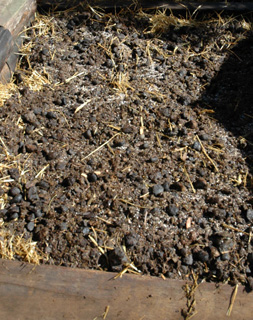
3. The pile: Although the perspective makes it appear smaller, the pile is taller than Ahtem. It cooked down to less than 4 feet high before the first turn.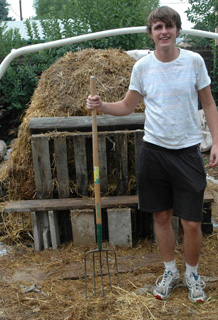
After “cooking” for 10 days (the temperature of the compost reached 170°F the second day after stacking) the pile was turned (top to middle, middle to bottom, bottom to top). The pile was then turned again and allowed to cook some more while we waited for a break from the August heat. The heat is the result of the action of thermophilic organisms breaking down and feeding on the straw and manure. This heat pasteurizes the compost.
4. Our spawn waiting in the basement for the weather to cool. 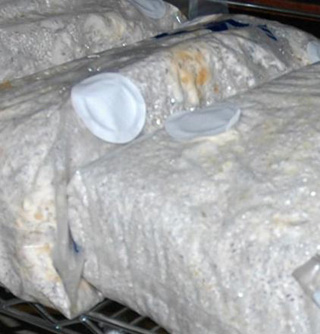
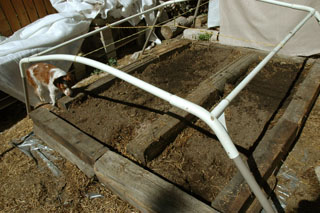
5. Laying and inoculating the beds. The inoculated beds where covered with a loose layer of compost to keep humidity in and cold out.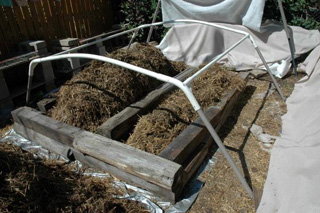
6. The beds covered with humidity blankets, shaded by day and tucked in for the cool nights.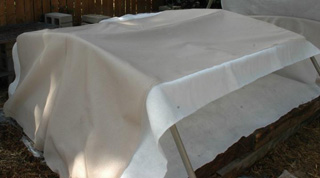
7. The mycelium “running” through the compost. (Hence the term “Mycelium Running” for those of you who did not know.)
8. Casing the beds. This is done to help initiate fruiting.
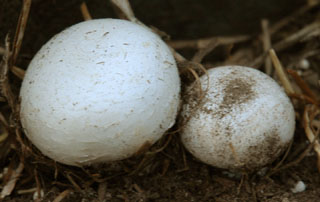
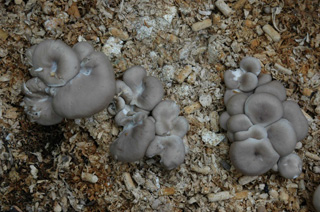
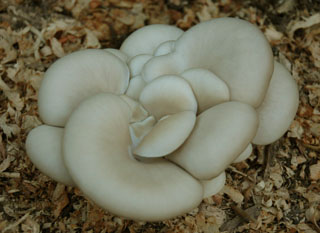
9. Agaricus fruiting.